Extend A Premium Plan
- Feb 6, 2022
- 2 min read
Updated: Jul 1, 2024
To extend your plan on your Wix site, follow this short guide, which should take no longer than five minutes.
Please note that you need to apply the code at least 14 days before your renewal date.
Currently, a discount coupon code cannot be directly applied to extend an existing premium plan.
To keep your website on a premium plan using a coupon, you will assign the coupon you received to a separate site in your account and then switch the plan to be applied to your main site.
Here's how to do it.
Step 1 - Upgrade a different site to the plan you want to extend
Open a template for editing in the Editor that your site is currently based on (Wix Editor or Editor X). If you're using the ADI or Wix Editor, you can this one
Click Edit this site to open it in the Editor.

3. Save the site and give it any name.

4. Click Upgrade, and select Compare Plans

5. Choose the plan you want for your primary website

6. Choose yearly (remember, our coupons are for a one year billing cycle and will start immediately when applied)

7. Click on Continue to Checkout
8. Apply the coupon code - Link

10. Click on Submit Purchase
Step 2 - Cancel your main site's current premium plan
(this will have no effect on your live website or domain)
1. Open the list of your premium subscriptions from your Wix dashboard.

2. Find your main website and choose a o cancel the existing plan.


3. Select ''Don't need it anymore'' and then choose “don’t need a website”
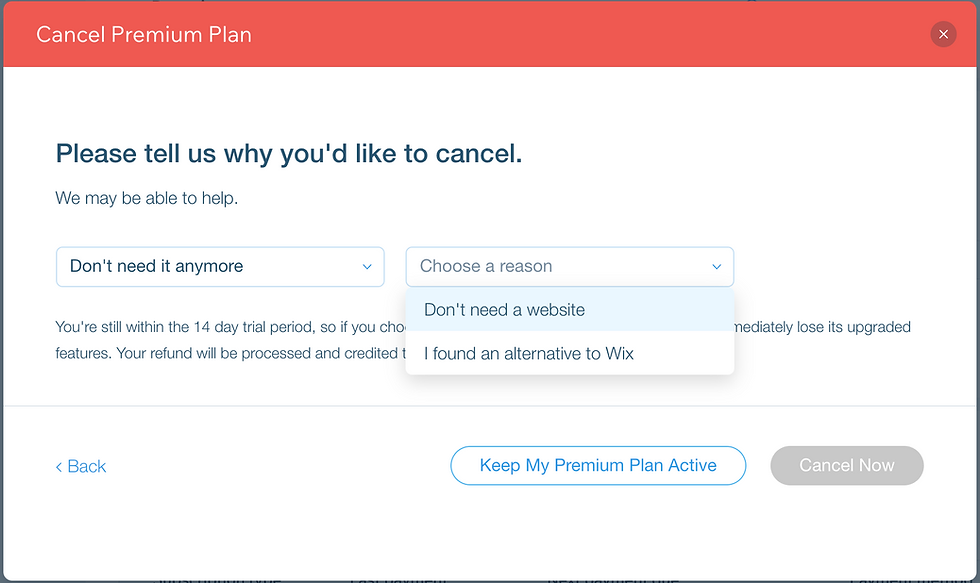
4. Under the tell us more section, you can write: “I am upgrading a different website”

5. Click on “Cancel Now”
Step 3 - Reassign the new premium plan to your main website
1. Navigate back to your Wix dashboard and open the Premium Subscriptions page from your account menu.

2. Find the premium plan for the secondary website you upgraded in step 1.
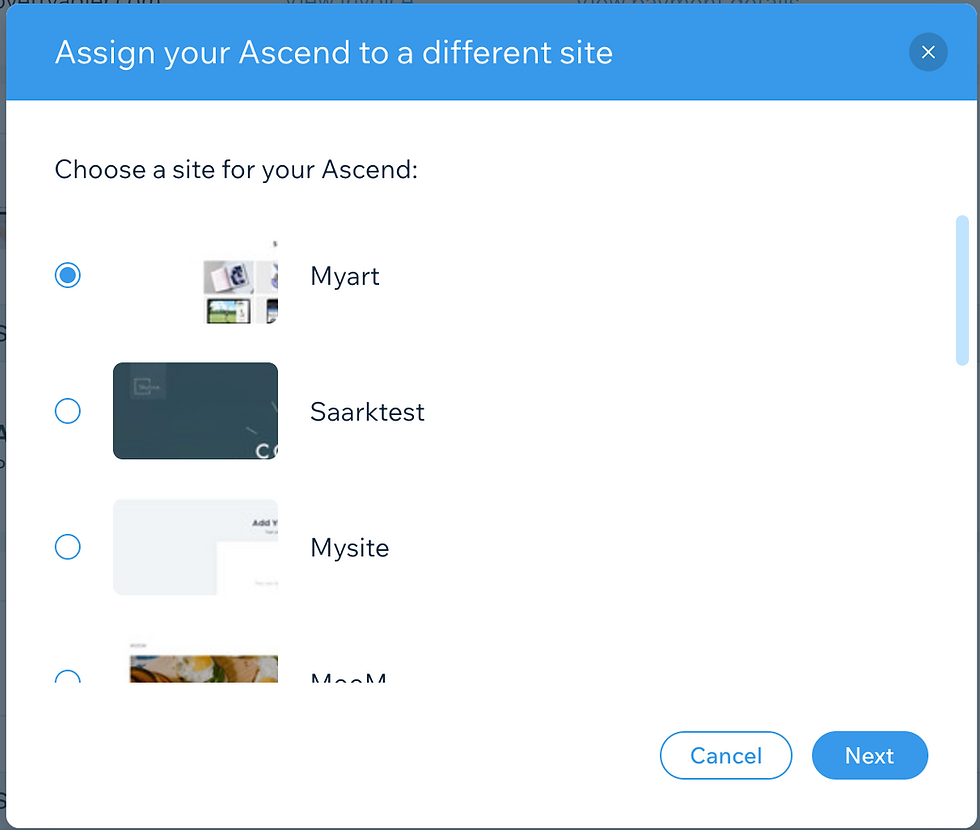
3. Open the site management menu (the three dots on the right) and select the option to assign the plan to a different website.
You can also follow this help article.

4. Select your main website and click ‘next’.
5. Once the plan is assigned, ensure that the next billing date will be in one year.
Questions? Something didn't work? Contact us with a screenshot of the problem and we'll be happy to assist.
Thanks again for your time!
- The Wix Product Feecback Team
Comments